How to iron slacks can seem challenging, but with the right steps, it’s a breeze. This guide will walk you through every detail, from preparing your iron to ensuring a smooth finish. Master the art of ironing slacks and always make a polished impression.
Ironing might not be everyone’s favorite chore, but when it comes to slacks, the result can be undeniably satisfying. A pair of neatly ironed slacks not only improves your overall appearance but also boosts your confidence. Whether you’re preparing for an important meeting or just want to look your best, knowing how to iron slacks is a skill worth mastering. In this guide, we’ll break down the process, giving you all the insights you need to get that perfect, crease-free finish every time.
How to Iron Slacks
Slacks, also known as dress pants, are a staple in many wardrobes. Whether you’re wearing them for a business meeting, a dinner date, or any other formal event, it’s essential that they look crisp and wrinkle-free. However, ironing slacks can be a bit tricky if you’re unfamiliar with the right techniques. In this comprehensive guide, we will walk you through the step-by-step process of ironing slacks to perfection.
Gathering the Necessary Tools
Before you begin the ironing process, ensure you have all the necessary tools on hand. Here’s a list of things you’ll need:
- A quality iron: Ensure that it has adjustable temperature settings to suit different fabric types.
- An ironing board: This provides a flat surface to make the ironing process smooth and efficient.
- Distilled water: for irons with steam settings.
- A clean cloth or press cloth is useful for protecting delicate fabrics.
- A spray bottle is filled with water to dampen the slacks if needed.
Preparing the Slacks
- Preparation is crucial when it comes to ironing. It determines how easily and effectively the ironing process will go.
- First, check the care label on your slacks. This will give you information on the fabric type and any specific ironing instructions.
- If your slacks are very wrinkled, it’s a good idea to dampen them slightly. Use a spray bottle to mist them, but avoid making them too wet.
- Let the slacks sit for about five minutes after spraying. This allows the moisture to be evenly distributed, which helps in the ironing process.
Setting Up the Iron
Once you’ve prepared your slacks, it’s time to set up the iron.
- Fill the iron with distilled water if you’re using the steam feature.
- Set the iron to the appropriate temperature based on the fabric of the slacks. For example, cotton requires a high setting, while synthetic materials need a lower setting.
- Allow the iron to heat up. Most modern irons will have an indicator light that tells you when they are ready.
Ironing the Waistband and Top
Start ironing at the top of the slacks.
- Begin with the waistband. Open it up and iron it flat. Be careful to ensure that any pleats or folds are ironed correctly.
- Move to the fly area and the pockets. Iron these areas carefully, using the tip of the iron to get into any small spaces or corners.
Ironing the Legs
The legs of the slacks are the most prominent part, so you’ll want to ensure they’re ironed flawlessly.
- Lay one leg of the slacks flat on the ironing board. Make sure the seams align, especially the inseam and the outseam. This ensures a straight crease.
- Start at the top, near the waistband, and iron downward. If your slacks have a crease down the front, ensure you maintain this line.
- Flip the slacks over and iron the other side of the leg in a similar manner.
- Repeat the process for the other leg.
Final Touches
Once you’ve ironed both legs, check the slacks for any missed wrinkles or folds.
- If you find any, re-iron those areas for a crisp finish.
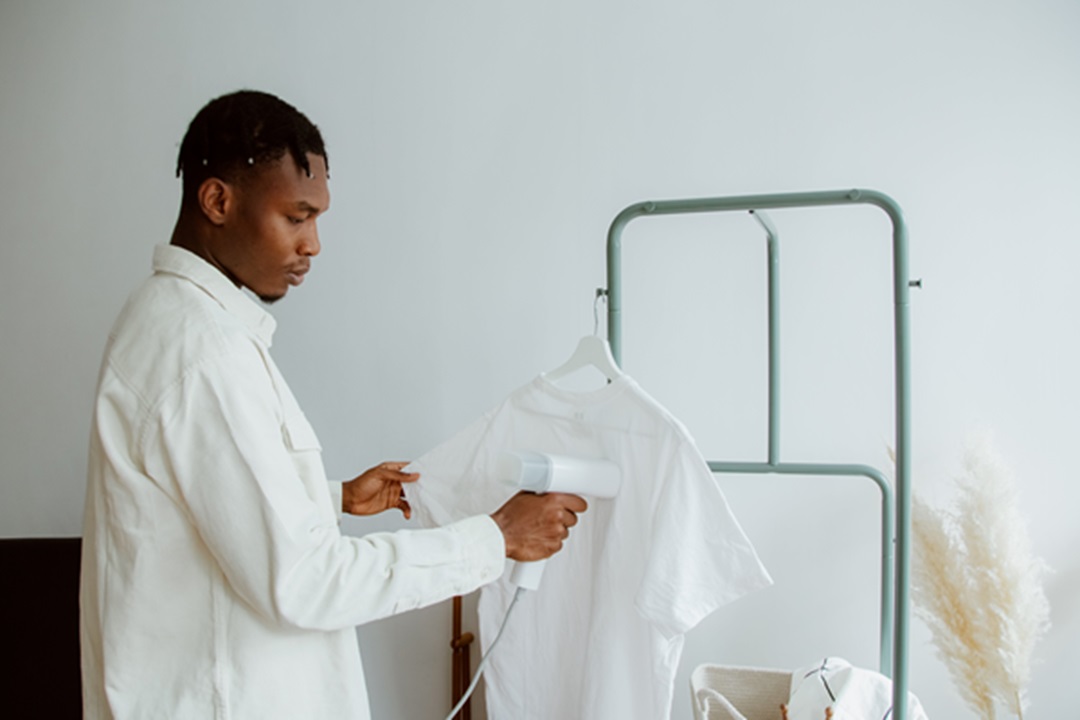
- Use the steam feature on your iron, if it has one, to remove any stubborn wrinkles.
Hanging and Storing
After ironing, the way you store your slacks will determine how long they stay wrinkle-free.
- Hang the slacks immediately after ironing. Use a hanger with clips for the waistband or a hanger with a bar to fold them over.
- Ensure the slacks are not crowded in your wardrobe. Giving them space prevents new wrinkles from forming.
Tips for Perfect Ironing
Here are some additional tips to ensure your slacks always look sharp:
- Always iron slacks inside out if they are made of a delicate material.
- To maintain a permanent crease, consider using a starch spray. However, ensure it’s suitable for the fabric of your slacks.
- Always keep your iron clean. Residue can stain or burn your slacks.
FAQs
What’s the first step in ironing slacks?
Before you grab that iron, ensure your slacks are clean and free from any stains. Dirty clothes can get further stained when ironed. Lay them flat on an ironing board, aligning any seams or creases.
Steam or dry iron—which is better for slacks?
A steam iron works wonders on slacks, especially for those stubborn wrinkles. The moisture softens the fabric, making it easier to smooth out. If your slacks are made of a delicate fabric, consider using a press cloth to prevent potential shine or scorch marks.
At what temperature should I set my iron?
Always, and I mean always, check the label on your slacks. It’ll guide you to the suitable temperature. Typically, cotton slacks can handle higher heat, while synthetics like polyester demand a cooler setting.
Any tips on handling the creases?
Of course! Start by ironing the top part, moving to the legs. For a sharp crease, fold one leg over the other, aligning the seams. Iron the top layer, then repeat for the other side.
I’ve heard of the term ‘pressing’ in relation to ironing. Is there a difference?
You’ve got a keen ear! While they seem similar, pressing requires you to lift the iron off the fabric instead of moving it back and forth. It’s often used for delicate fabrics or to achieve a crisp finish on slacks.
How can I ensure my slacks remain wrinkle-free after ironing?
Once you’ve achieved that pristine look, hang your slacks immediately on a hanger. It’s best to store them in a place free from humidity to prevent new wrinkles from forming.
Conclusion
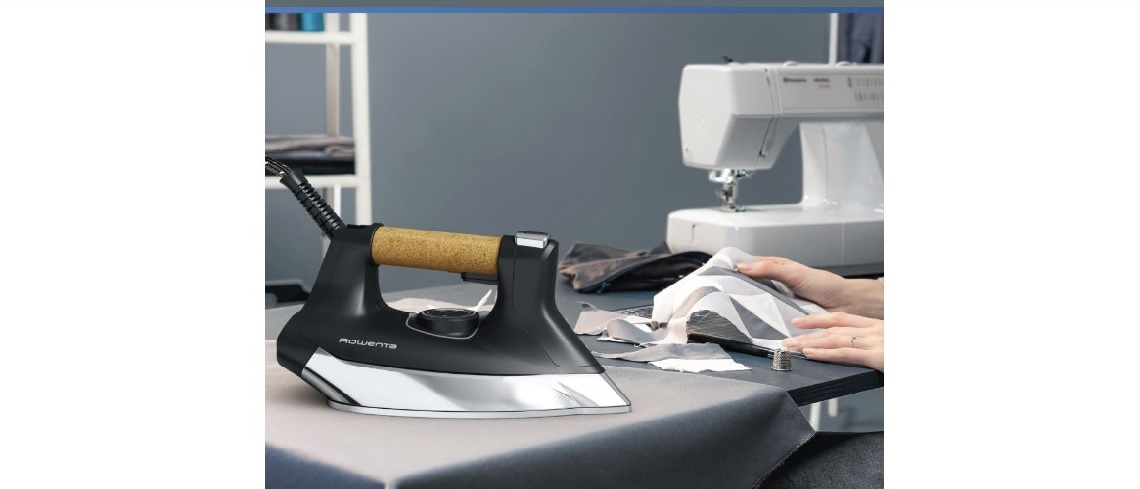
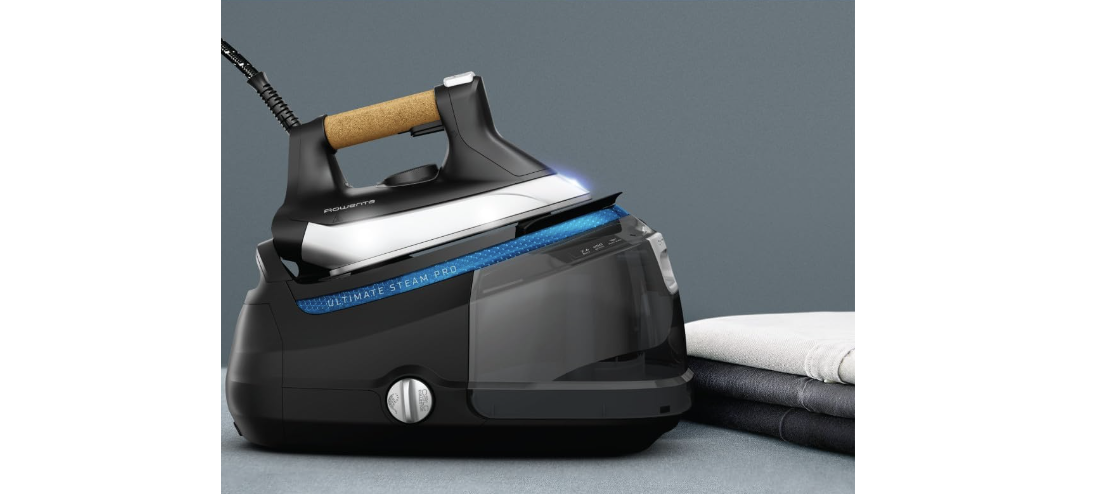
While ironing slacks might seem daunting at first, with the right tools and techniques, you can achieve perfectly pressed pants every time. Remember to always check the care label, prepare your slacks, and iron carefully for the best results. With practice, you’ll find that ironing slacks becomes a quick and easy part of your laundry routine. And to make your slacks softer and smoother, we recommend using a steam iron, especially the Rowenta steam iron.
In case you found this article helpful, I would like to recommend some other articles that may be of further assistance:


