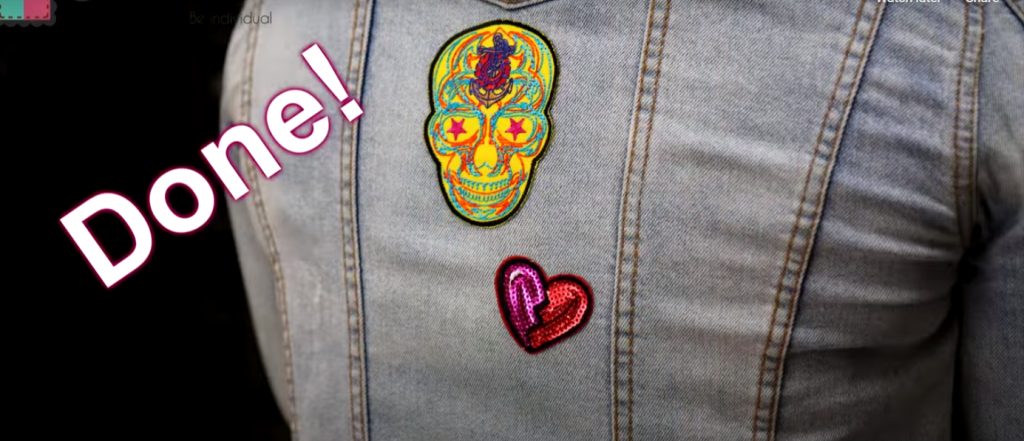
How to iron on patches on jeans is a creative way to add flair to your denim. Whether to mend or for style, patches give your jeans a fresh twist. Master the method with our comprehensive guide and elevate your denim game.
Everyone loves a pair of jeans with a touch of personal style. If you’re looking to make a statement or mend a tear, knowing how to iron on patches on jeans is essential. Patches not only add to the aesthetics but also give old denim new life. Dive into our step-by-step guide to make your jeans stand out.
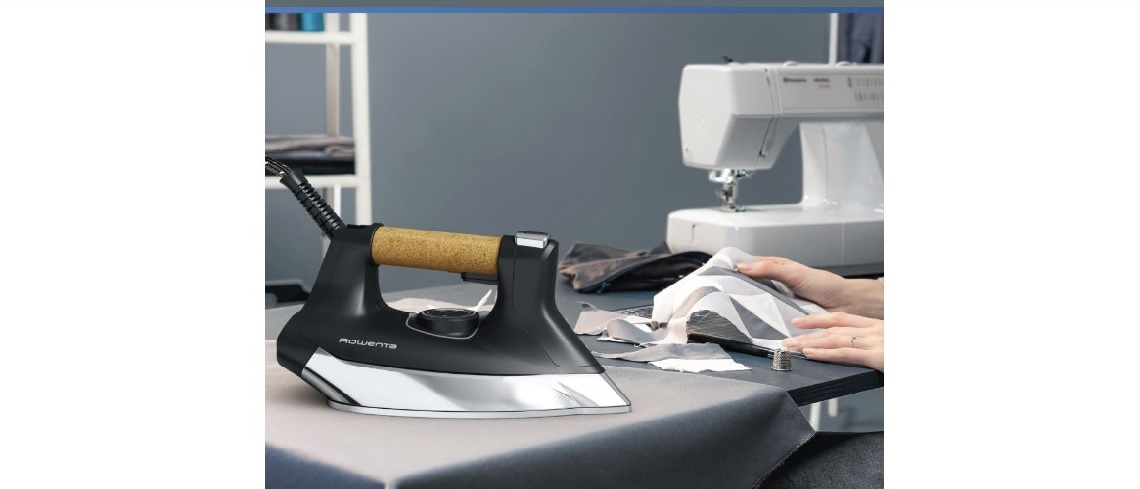
More Articles: Top 7 Best Rowenta Steam Iron
Understanding the Basics of Iron-On Patches
Iron-on patches are versatile and can be an aesthetic addition to clothing, especially jeans. They are not just decorative but can also serve as patches for holes and rips. Iron-on patches are designed with a special glue on the back that melts and bonds with fabric when heated. This means that you can secure them onto your jeans using a regular household iron.
Why Iron-On Patches?
There are several reasons why individuals might choose to use iron-on patches:
Personalization: They allow wearers to add personal flair to their jeans.
Repair: They can cover up tears or holes.
Upcycling: They can give an old pair of jeans a new look.
Selecting the Right Patch for Your Jeans
Before diving into the process, it’s essential to select the right patch.
Size: Ensure the patch is large enough to cover the intended area but not so large that it overwhelms the jeans’ design.
Design: Choose a design that complements the jeans or reflects personal style.
Material: Check that the patch material is compatible with the jean material.
Materials You’ll Need
To effectively attach an iron-on patch to your jeans, gather the following:
1. Iron-on patch
2. Jeans
3. Iron
4. A thin cloth or towel
5. An ironing board or a flat surface
How to Iron on Patches on Jeans: A Step-by-Step Guide
Step 1: Prepare the Jeans
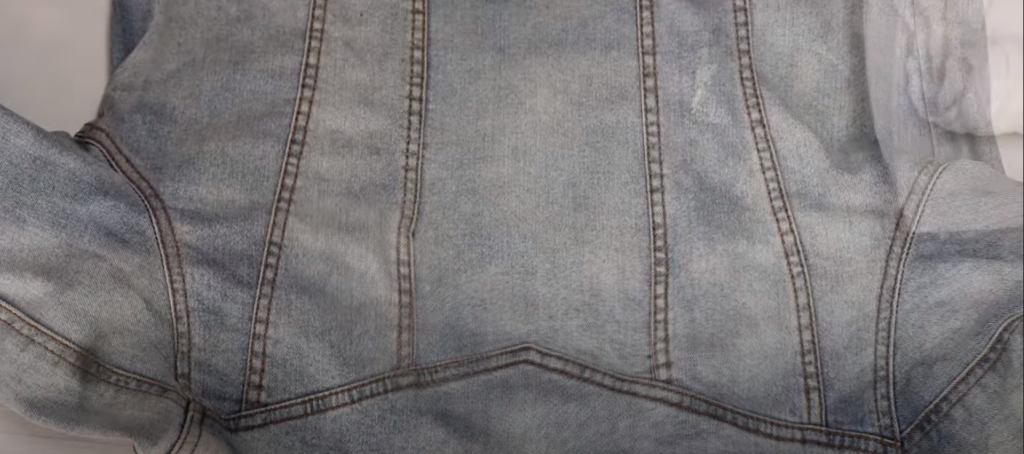
Ensure that the jeans are clean and free from dirt. Lay them out on an ironing board, ensuring that the area where you want to attach the patch is flat without any wrinkles.
Step 2: Preheat the Iron
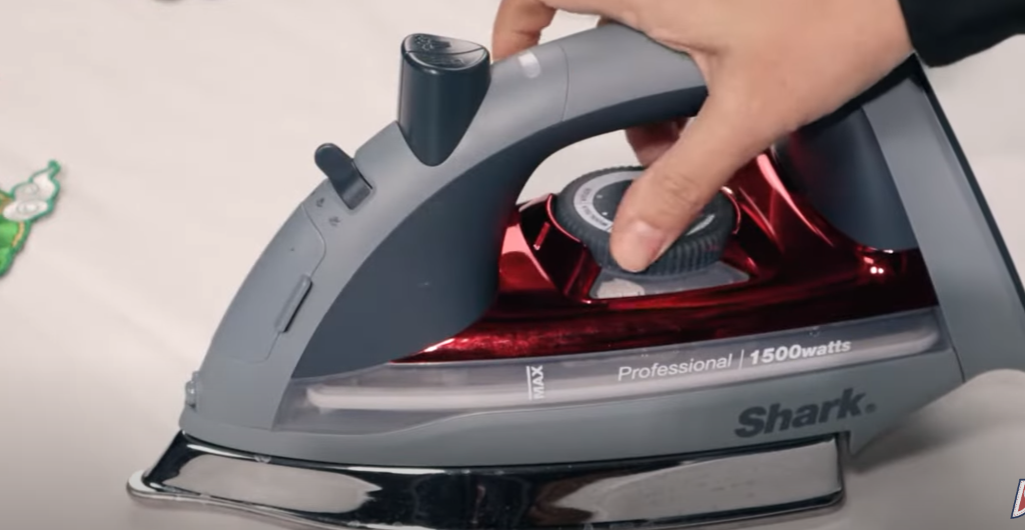
Turn the iron on and set it to the cotton setting. Allow it to heat up. Do not use steam, as the moisture can interfere with the adhesive.
Step 3: Position the Patch
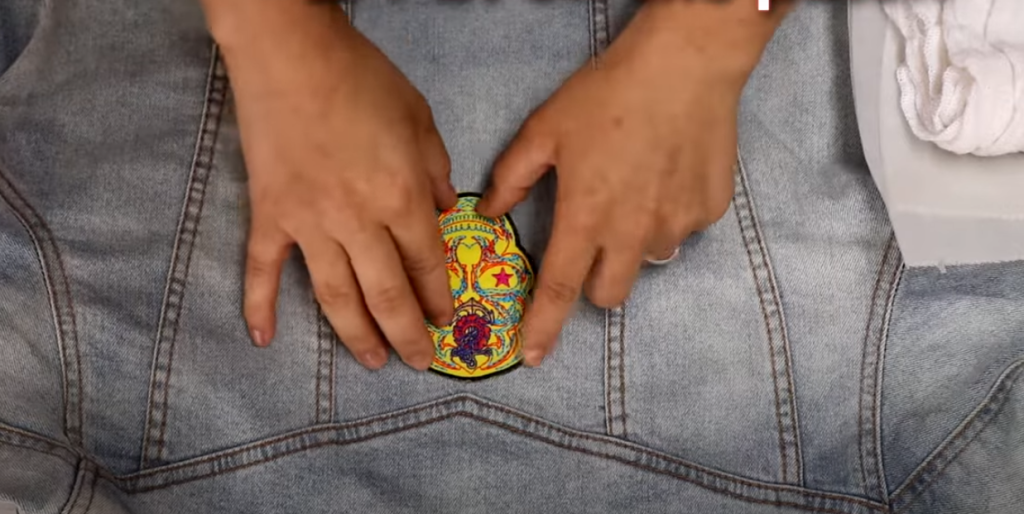
Place the patch on the desired area of the jeans, ensuring it’s positioned correctly. Double-check to make sure the design faces outward and aligns well with the jeans.
Step 4: Cover and Press
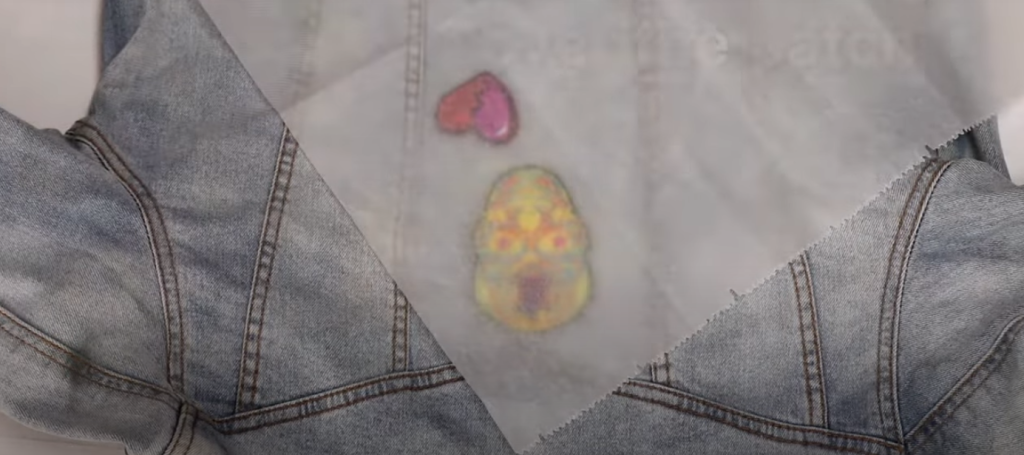
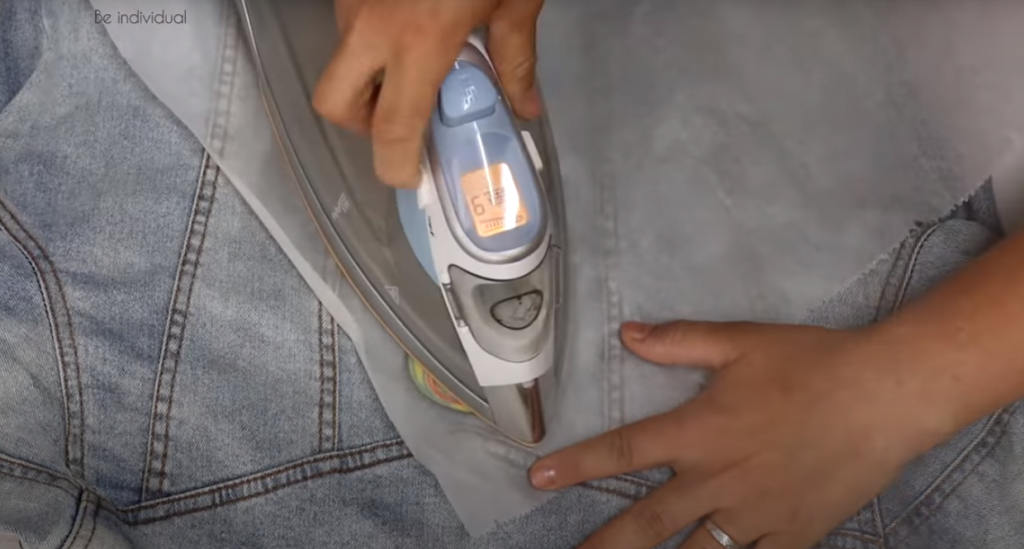
Cover the patch with a thin cloth or towel. This will protect the patch and jeans from the direct heat of the iron. Press down firmly with the iron for about 30 seconds to a minute. Ensure you move the iron slightly to cover the entire patch area.
Step 5: Secure the Edges
Pay special attention to the patch edges, as these can lift off over time if not properly adhered. Press the iron on the edges for an additional 20 seconds to ensure a secure bond.
Step 6: Cool and Check
Allow the jeans and patch to cool for a few minutes. Once cooled, gently try to lift the patch edges to ensure they’re securely attached.
Additional Tips for a Perfect Iron-On Patch Job
Washing Considerations: Wait at least 48 hours after applying the patch before washing the jeans. When washing, turn the jeans inside out and use cold water. This will help prolong the patch’s life.
Permanent Fix: For added security, you can stitch the edges of the patch after ironing. This ensures that even if the adhesive weakens over time, the patch will remain in place.
Heat Sensitivity: Always consider the material of both the jeans and the patch. Some materials can melt or get damaged by high heat. Adjust the iron settings accordingly.
Ironing Surface: While an ironing board is ideal, any flat surface will do. Just ensure it can withstand the heat without damage.
FAQs on How to Iron-On Patches on Jeans
Why would someone want to iron-on patches on jeans?
Ironing patches onto jeans isn’t just for covering rips or holes. It’s a fantastic way to personalize your denim, add a dash of flair, or make a fashion statement. Plus, it gives new life to old jeans.
How do I prepare my jeans for patch application?
Firstly, ensure your jeans are clean and free of any debris. Lay them flat on an ironing board and smooth out any wrinkles. Pre-heat the area where you’ll apply the patch using your iron; this helps with better adhesion.
Any tricks to ensure the patch stays put?
Indeed! Place a thin cloth over the patch, pressing down with a heated iron for about 30 seconds or as per the patch’s instructions. Then, flip the jeans inside out and iron the reverse side to reinforce the bond.
Can I wash jeans after applying an iron-on patch?
Certainly, but wait at least 24 hours after application before the first wash. And when you do wash, turn the jeans inside out and use cold water. Air-dry to retain the patch’s adherence and shape.
What if the patch begins to peel off after some time?
Not to worry! Simply re-iron the patch, following the original steps. If that doesn’t do the trick, consider adding a few stitches around the patch’s edge for added security.
Conclusion
Iron-on patches are a fun and creative way to enhance, repair, and upcycle jeans. With the proper techniques and care, these patches can remain in place for a long time, allowing wearers to showcase their personal style. Whether it’s for fashion or functionality, mastering the art of ironing patches onto jeans can be both fulfilling and fashionable.
In case you found this article helpful, I would like to recommend some other articles that may be of further assistance:
