How to iron a collar can seem daunting for many, but with the right technique, it becomes a breeze. A collar is the focal point of a shirt, and its appearance can make or break your entire look. This guide will walk you through each step, ensuring you always present your best.
When dressing up, a shirt’s collar can truly set the tone. A crisp and neatly ironed collar communicates professionalism and meticulous attention to detail. But how to iron a collar correctly is a skill that many are yet to master. This guide offers a comprehensive overview, providing you with practical tips and techniques to ensure your collar always stands out for the right reasons.
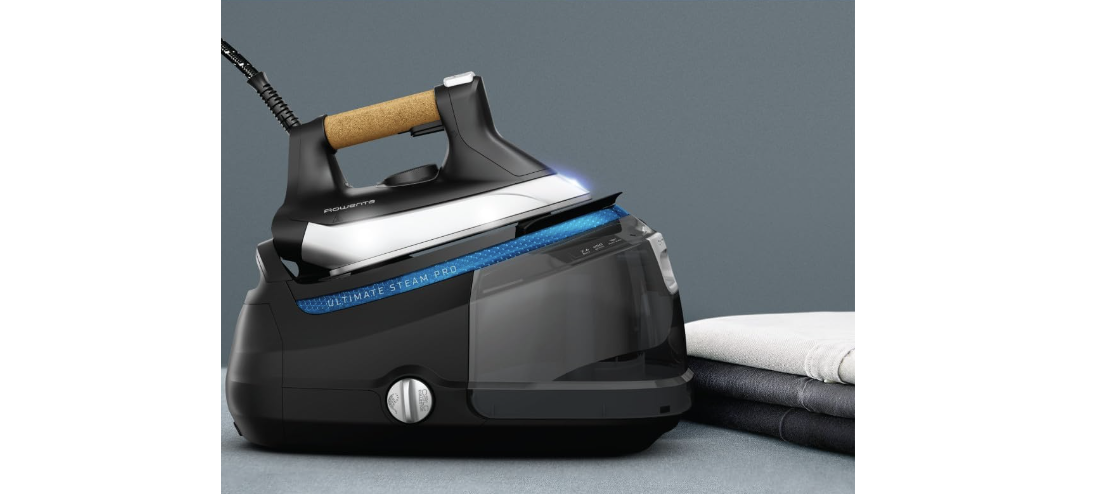
You may like: Best Rowenta Steam Iron
How to Iron a Collar
Ironing a collar can seem simple, but the importance of a crisply ironed collar in making a good impression cannot be overstated. It’s the little details like these that can elevate the entire look of your shirt. In this guide, we’ll walk you through the steps to perfectly iron a collar and address common questions and problems you might encounter.
Choosing the Right Iron and Settings
Selecting the Iron: Always use a good-quality iron. While there are many models available on the market, it’s crucial to choose one with adjustable temperature settings, a steam function, and a non-stick soleplate.
Temperature Settings: Check the label on your shirt for specific ironing instructions. Cotton shirts generally require a high temperature, while synthetic materials like polyester require a lower setting.
The Importance of Steam: Most modern irons come with a steam feature. Steam helps to soften the fabric, making it easier to eliminate creases. If your iron doesn’t have a steam function, you can achieve similar results by sprinkling some water on the collar.
Steps to Ironing the Collar Perfectly
1. Preparation: Begin by ensuring that your shirt is clean. Dirt or stains can become more pronounced when exposed to heat. Lay the shirt flat on the ironing board with the collar extended.
2. Start with the underside: Open up the collar and start ironing on the underside. This will give you a smooth finish when you turn to the visible side. Move the iron from one point of the collar to the other, applying even pressure. Avoid ironing in a back-and-forth motion, as this can stretch the fabric.
3. Turn to the Top: Once the underside is smooth, flip the collar and repeat the process on the top side. Make sure to iron from one point to the next to ensure an even finish.
4. Addressing Stubborn Creases: If you find that certain creases are difficult to smooth out, apply a bit more steam or sprinkle some water on the area and go over it again. Be cautious not to set the iron on the fabric for too long, as this can cause burns or shiny patches.
5. Setting the Collar: After ironing, fold the collar down to its natural position, ensuring that the tips are aligned with the shirt’s button placket. You can press down lightly with your hands to set the fold. If you want an extra crisp finish, you can go over the folded collar with the iron one more time, using the edge of the iron to define the fold.
Common Mistakes and How to Avoid Them
Using Too Much Heat: As mentioned earlier, always check the label on your shirt to ensure you’re using the right temperature setting. Too much heat can cause damage or leave a shiny residue on the fabric.
Over-Wetting the Fabric: While steam or a sprinkle of water can be beneficial, too much moisture can cause water stains or make the fabric look uneven. Always use the steam function in moderation.
Ironing back and forth: This motion can stretch the fabric out of shape. Always iron in one direction for the best results.
Not Cleaning the Iron: Over time, irons can accumulate residue or develop mineral deposits if you’re using tap water. Clean your iron regularly to ensure that it doesn’t transfer any stains or residues onto your clothes.
Additional Tips for a Perfect Collar
Starch for Extra Crispness: If you want your collar to hold its shape for a longer time, consider using starch. Spray it evenly on the collar before ironing. However, use it sparingly, as overuse can make the fabric feel too stiff.
Invest in a Collar Stay: Collar stays are small, flat inserts that are placed in the underside of a shirt collar to keep it in place. They can be particularly useful for dress shirts or occasions when you want to look extra polished.
Store Shirts Properly: After ironing, hang your shirts on hangers to prevent them from getting wrinkled again. Ensure that the collar is set in its natural position.
Regular Maintenance: Regularly ironing your shirts, even if they don’t seem too creased, can help maintain the fabric and prolong the life of the garment.
The Right Ironing Board: Just as a good iron is essential, having a sturdy ironing board with adequate padding can make the process easier and yield better results.
You may like: Best Rowenta Steam Iron
FAQs on How to Iron a Collar
What’s the first step in ironing a shirt collar?
Before ironing the rest of the shirt, always start with the collar. Lay it flat, ensuring it’s fully extended. Remember, it sets the tone for your entire shirt’s appearance.
Should the collar be ironed on both sides?
Definitely. Begin by ironing the underside, then flip the shirt and iron the topside. This process ensures a crisp, even finish devoid of creases or wrinkles.
Any particular direction to iron in?
Always iron from the middle of the collar outwards. This pushes out any potential creases and ensures the edges remain sharp and pristine.
My collar has a stubborn wrinkle. How can I handle it?
Stubborn wrinkles require a tad more moisture. Lightly dampen the area and go over it gently with the iron. If the wrinkle persists, consider using a bit of fabric softener mixed with water.
Once ironed, how do I maintain the collar’s sharp look?
After ironing, immediately hang the shirt on a hanger. Button the top button to retain the collar’s shape. For added sharpness, consider using collar stays.
Conclude
Ironing a collar may seem like a small task, but doing it right can make a significant difference in your overall appearance. With the right tools and techniques, you can ensure that your collar looks sharp and professional every time. Whether you’re preparing for an important meeting, a date, or just want to look your best, a crisply ironed collar is a step in the right direction.


