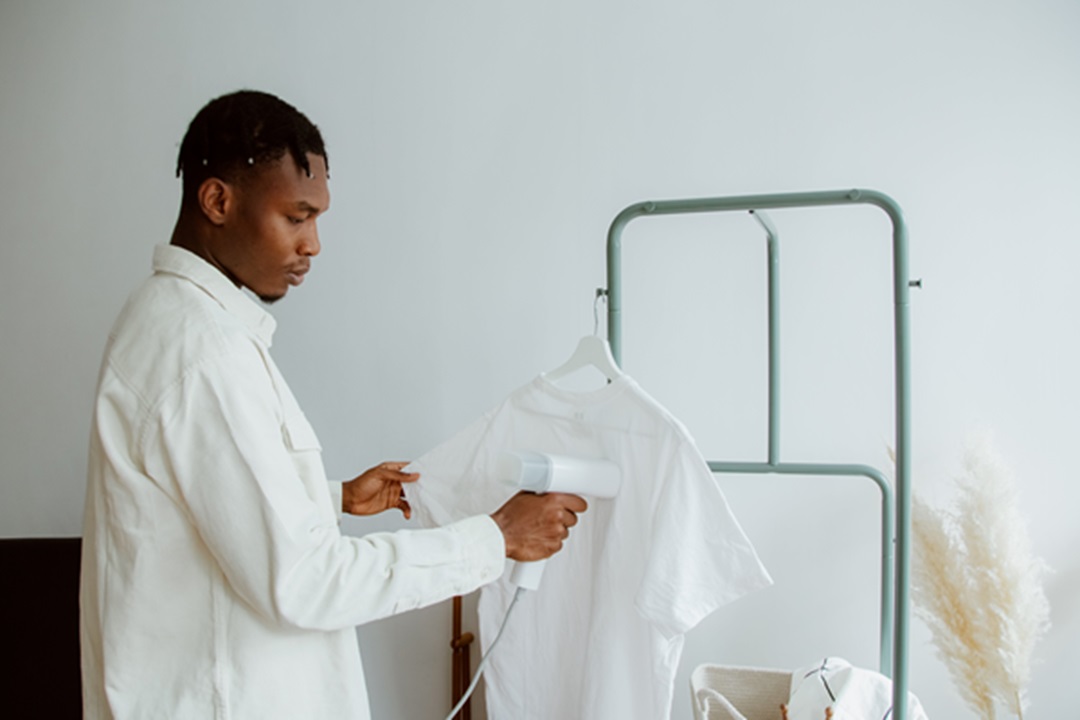
How do you iron clothes effectively? The answer lies in understanding the fabric, the right temperature, and the technique. Acquiring the skill ensures that your clothes look fresh, neat, and professionally pressed. Whether it’s your favorite shirt or a delicate dress, knowing the ins and outs of ironing can make a world of difference. Become an expert and flaunt your pristine wardrobe with pride.
Ironing may seem like a straightforward task, but there’s an art to it. How do you iron clothes in a way that they look as if they’ve just come straight from the professional cleaners? From understanding different fabric needs to the correct method of ironing, it’s crucial to get it right to ensure your clothes are smooth and free from unwanted creases. Read on to master this essential skill and make your clothes stand out in the crowd.
More Articles: Top 7 Best Rowenta Steam Iron
How do you iron clothes
Ironing is an essential skill that keeps your clothes looking polished and presentable. Whether you’re preparing for an important meeting or just looking to give your casual wear a neat appearance, ironing can make all the difference. This comprehensive guide will cover everything from choosing the right iron to mastering different techniques for different types of garments.
Understanding the Basics of Ironing
The primary purpose of ironing is to eliminate wrinkles from fabrics, making them appear neat and smooth. Heat and weight from the iron accomplish this. The iron’s heat loosens the fabric fibers, and the weight presses them flat. When the fabric cools, it holds the new shape, and the wrinkles disappear.
Choosing the Right Iron
Not all irons are created equal. Picking the right one can make the task more efficient and provide better results. Here are some things to consider:
Type of Iron: There are primarily two types of irons: dry and steam. Dry irons are traditional and do not produce steam, while steam irons release steam that can help remove tough wrinkles.
Weight: A heavier iron can provide a better press, but it might be more strenuous to use.
Temperature Control: Ensure your iron has adjustable temperature settings to accommodate various fabrics.
Non-stick Plate: A non-stick plate prevents the iron from sticking to the fabric and potentially damaging it.
Setting up Your Ironing Station
Before you start ironing, it’s vital to set up your station correctly:
Ironing Board: Invest in a sturdy ironing board with an adjustable height feature. Cover it with a heat-reflective cover to protect your garments and help in smoother ironing.
Water Source: If you’re using a steam iron, keep distilled water nearby to refill the iron when needed. Distilled water is preferable as it doesn’t leave mineral deposits.
Pressing Cloth: This is a thin cloth, usually cotton, that you place between the iron and the garment to prevent scorching.
Understanding Fabric Types
Different fabrics require different care when ironing. Here’s a brief overview:
Cotton: This fabric can withstand high temperatures. Use the cotton setting on your iron, and iron while the garment is slightly damp for best results.
Silk: A delicate fabric that requires a low temperature. Always use a pressing cloth to prevent any potential shine or scorch marks.
Wool: Use medium to high heat. A steam iron works best for wool garments to avoid shine.
Synthetic Fibers (like polyester): These require low heat. Ironing at high temperatures can melt or damage the fabric.
Ironing Techniques for Various Garments
Every clothing item has its challenges when it comes to ironing. Here are tips for some common pieces:
Shirts:
- Begin with the collar.
- Iron the underside first, then the top side.
- Move on to the cuffs, ironing the inside and then the outside.
- Lay the shirt flat and start with the yoke (the area around your shoulders).
- Iron the sleeves next, keeping the fabric taut.
- Finish by ironing the front and back of the shirt.
Pants:
- Start with the waistband, ironing around the entire circumference.
- Lay one leg flat and iron. Then flip and do the other side.
- Repeat with the other leg.
- For a crease, fold the pants by aligning the seams and press down with the iron.
Dresses and Skirts:
- Begin with the top or bodice.
- For pleated skirts, start at the waist and iron downwards, following the pleats.
- For A-line or straight skirts, iron from the waist down, ensuring the fabric lays flat.
Tackling Common Ironing Challenges
Sometimes, you may encounter stubborn wrinkles or other challenges. Here’s how to handle them:
Stubborn Wrinkles: Use the steam burst feature on your iron or spritz a little water on the area and then iron.
Shiny Marks: These can be caused by ironing at too high a temperature or pressing too hard. Always use a pressing cloth for delicate fabrics and ensure you’re using the correct temperature.
Water Stains: Sometimes, using steam or spritzing water can leave marks, especially on dark fabrics. Allow the garment to dry fully, and the marks should disappear. If not, wash the item and iron again.
Storage After Ironing
To maintain your freshly ironed clothes:
- Hang shirts, dresses, and skirts immediately on hangers.
- Pants can be hung by the waistband or folded along their creases.
- Store in a place where they won’t get crushed or wrinkled again.
FAQs
Why is it so essential to iron clothes the right way?
Well, besides wanting to avoid looking like you wrestled your shirt out of a backpack, properly ironed clothes exude professionalism and neatness. More than aesthetics, correct ironing techniques can protect your clothes from damage, helping them last longer.
Alright, I’m a newbie. What basic gear do I need to start ironing?
Welcome to the club! Here’s a starter pack: An iron (preferably one with steam capabilities), an ironing board, distilled water for the steam function, and a press cloth for those extra delicate fabrics. Optional, but super handy, is a spray bottle with water.
I always hear about different fabrics needing different temperatures. What’s the deal?
You’re on point. Fabrics are like people – they’ve got their comfort zones. Cotton and linens can usually handle the heat, quite literally. But more delicate fabrics, like silk or synthetics, need cooler temperatures. Your iron will typically have fabric settings, but always do a quick check of the clothing label – it’s your best guide.
How do I tackle stubborn wrinkles? They’re my nemesis!
Ah, the age-old battle! Here’s a tip: Moisture is your ally. If your iron has a steam function, use it generously on those pesky wrinkles. If not, a simple spray bottle with water will do the trick. Mist the area, then iron away.
Any golden rules I should be aware of while ironing?
A couple, actually! Firstly, always iron clothes inside out to protect them from potential iron shine. Secondly, never ever leave a hot iron face down on clothes. It’s a recipe for disaster (or at least a scorched shirt).
My clothes still get wrinkles even after ironing. What gives?
Gravity, my friend. After ironing, immediately hang or fold your clothes. Let them cool and settle for a bit before wearing them. If you throw them on right away, your body heat can reintroduce those unwanted wrinkles.
Conclusion
Ironing might seem daunting at first, but with practice and the right tools, it becomes an easy way to keep your clothes looking their best. By understanding fabric types, employing correct techniques, and handling challenges as they come, you can master the art of ironing and enjoy crisp, smooth garments every day.


